I’m a computer engineer by day and a creative at night. I spend much of my hobby time taking photos, tinkering with wood and metal, researching new technologies and their capabilities and experimenting in every way possible. Its exciting when I get to see the mind boggling world of high performance computing meet with the art world in this rare collaboration between computer hardware and art. Here we are, the time of Silicon Artistry.
Long ago during the advent of computers it was very unlikely that we would have ever expected that they were ever capable of executing upon abstract thoughts such as art or language. AI generated artwork has been here for for some time now and is growing very quickly in popularity, and along with it a surge in the maturity of the technology. I was speaking to a photographer friend a few months ago during a workshop and he turned me on to GAN artworks. He showed me his photos that he modified using Nvidia StyleGan2 and I knew this was a realm I needed to dive into. I spent some short time looking briefly into the technology but didn’t end up coming up with anything particularly interesting. That was until a few months later, when I discovered some AI generated artworks on Reddit and low and behold GAN’s are behind the scenes. Specifically VQGAN+CLIP. This is an extremely interesting combination in my opinion because CLIP utilizes written text to guide the network towards your final image. This allows for a very organic and versatile way of influencing the generation and modifications of your artworks. You describe the artwork you want and it will output its interpretation of your prompt. There are a lot of subtle tricks that can help yield better results, but starting out is really as simple as a few words.
How to start?
Starry AI
The easiest easiest place to start is probably the ios app StarryAI. You can download this iOS app and generate two free artworks per day. It’s very limited and a lot of the premade styles will net you with something that looks very similar to other artworks of that style, but it is a very simple place to start that proves the concept. A major perk of this app too is that the outputs are spectacularly high resolution.
As mentioned before if you use the same premade style with starryAI on different prompts you will get something that looks almost a bit too similar for my taste. So lets explore further.
Nightcafe Studio
The next easiest step would be to use Nightcafe Studio. This site is just as easy to use as StarryAI however with a bit more control over your output. A feature about this site I particularly enjoy is the “Evolve” feature that lets you choose an artwork you made that you like and rerun it through the network to tweak the image further. Seeing this evolution process enforced the idea of iteration that enabled me to start getting artworks that I was truly proud of. More on that later.
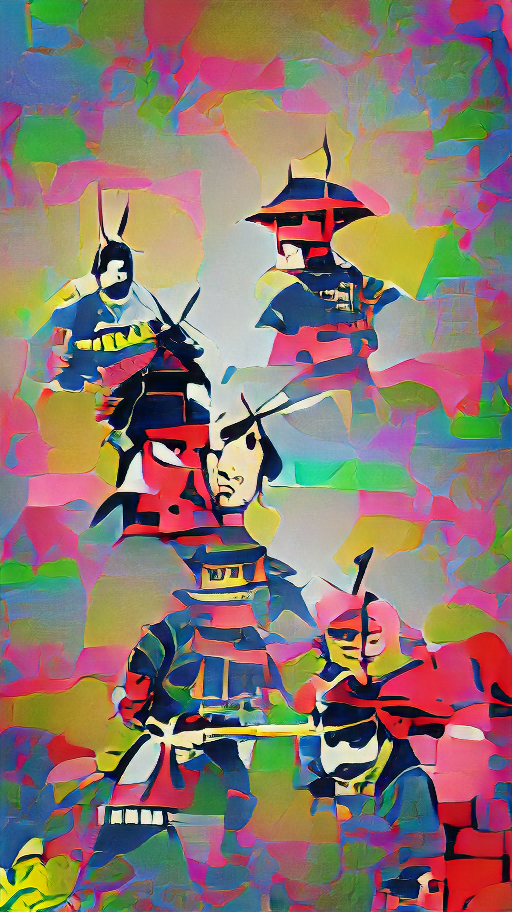
Lets follow this process of evolution on nightcafe. I’ll first generate a random artwork based on my text prompt “Samurai Philosopher”.
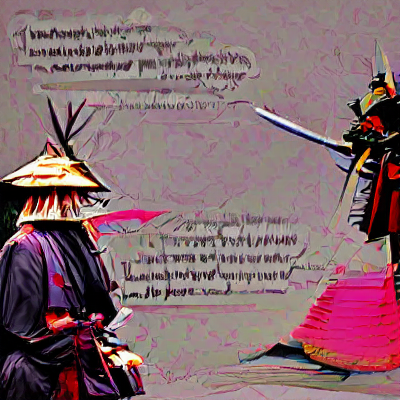
After letting the network run for a few minutes I received the above photo. You can clearly see two characters that look samurai influenced, and I think that the scratches on the background is the interpretation of “philosopher” with handwritten philosophical notes. Pretty cool, but lets iterate it further.
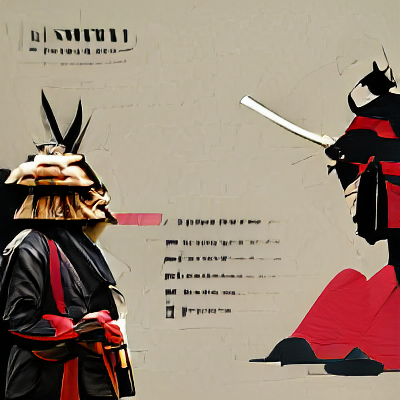
This is our first evolution. I evolved the and reran the artwork, but this time adding in the keyword “minimalist”. You can see how it flattened most of the surface texture out and reduced much of the colors down to just red and black. Lets keep going.
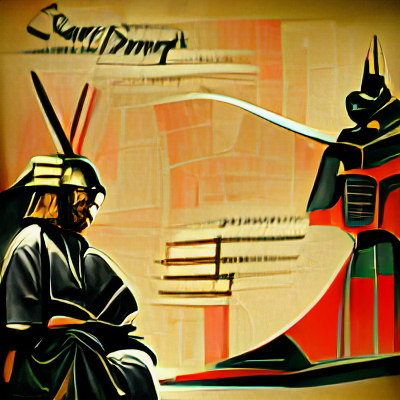
The next evolution contains the keyword “Art Deco”. Definitely a cool art deco look on this one. I made several more evolutions, but I think you get the idea at this point. Lets take this principle and move it over to an even better tool.
Google Colab
This Colab notebook is based upon the open source project by Catherine Crowson. It provides a solid user interface to start with that grants you MUCH more control than the previous two options. The downside now is that the free tier of Google Colab will not allow you to take full capability of the code. If you’re liking this process so far I highly encourage you to try out a month of Colab Pro. Its $10 and you can run all of your artworks on some shared Nvidia GPU’s that are tailored for AI and ML models. This is where I’ve made most of my cool artworks so far.
I originally started out with the prompt “Bella Delphine | Pope Francis | Vaccine” on the Imagenet model. This did not yield good results. Over time I have learned that simple subject prompts are usually best for VQGAN+CLIP. Human faces also are very difficult and usually don’t turn out super well so far. I unfortunately did not save the output of this one. The best way to describe it was an amorphous vaguely pink blob of breasts and some pope-like figures standing around. This won’t really register as anything meaningful to another person looking at it that doesn’t know what the inputs were.
All of the following artworks were made with VQGAN+CLIP VQGAN+CLIP will usually yield a much less accurate result to your prompt, but they also run much faster which is better for these iterative artworks. If accuracy to prompts is something you want try using the CLIP Guided Diffusion part of the notebook. I’ll talk about this a bit later.
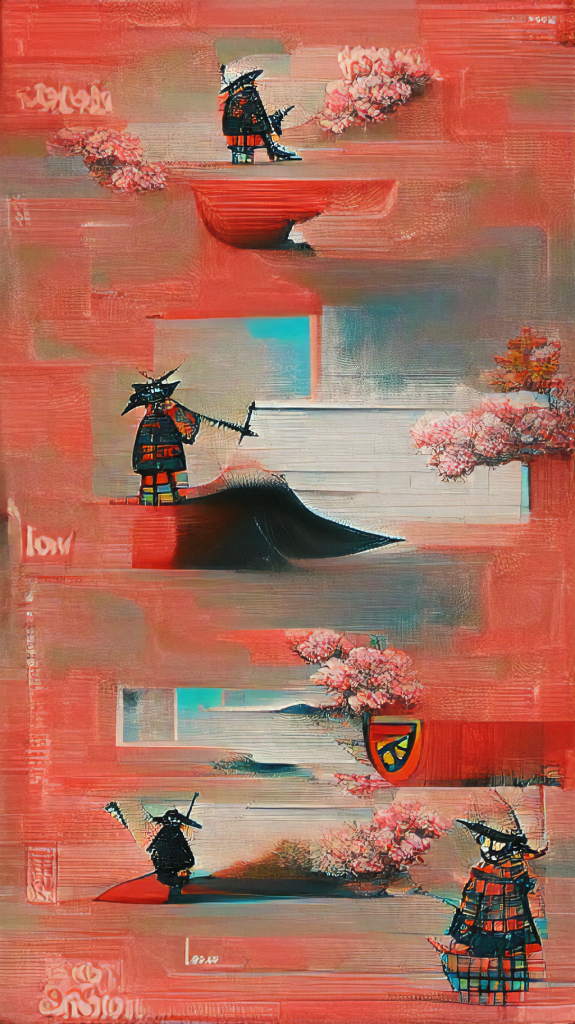
After a few more overly complicated prompts I cut it down to simply “Samurai | Anime”.
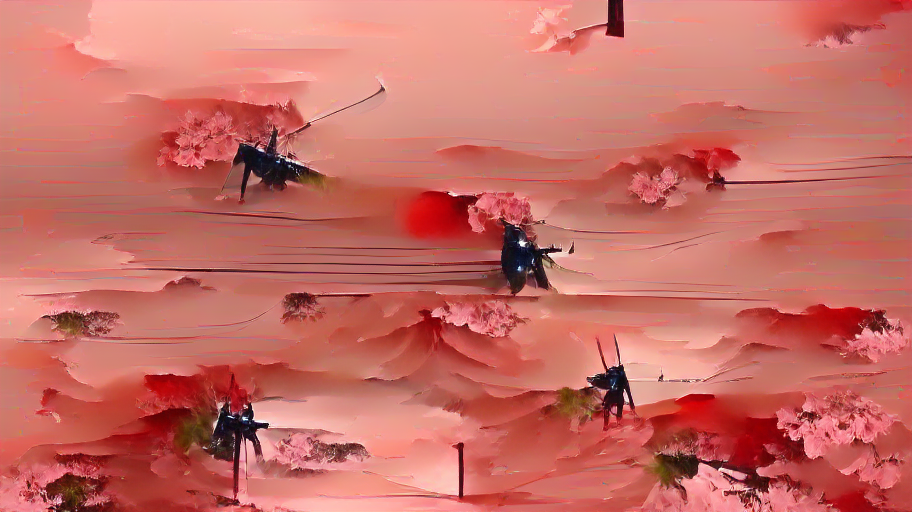
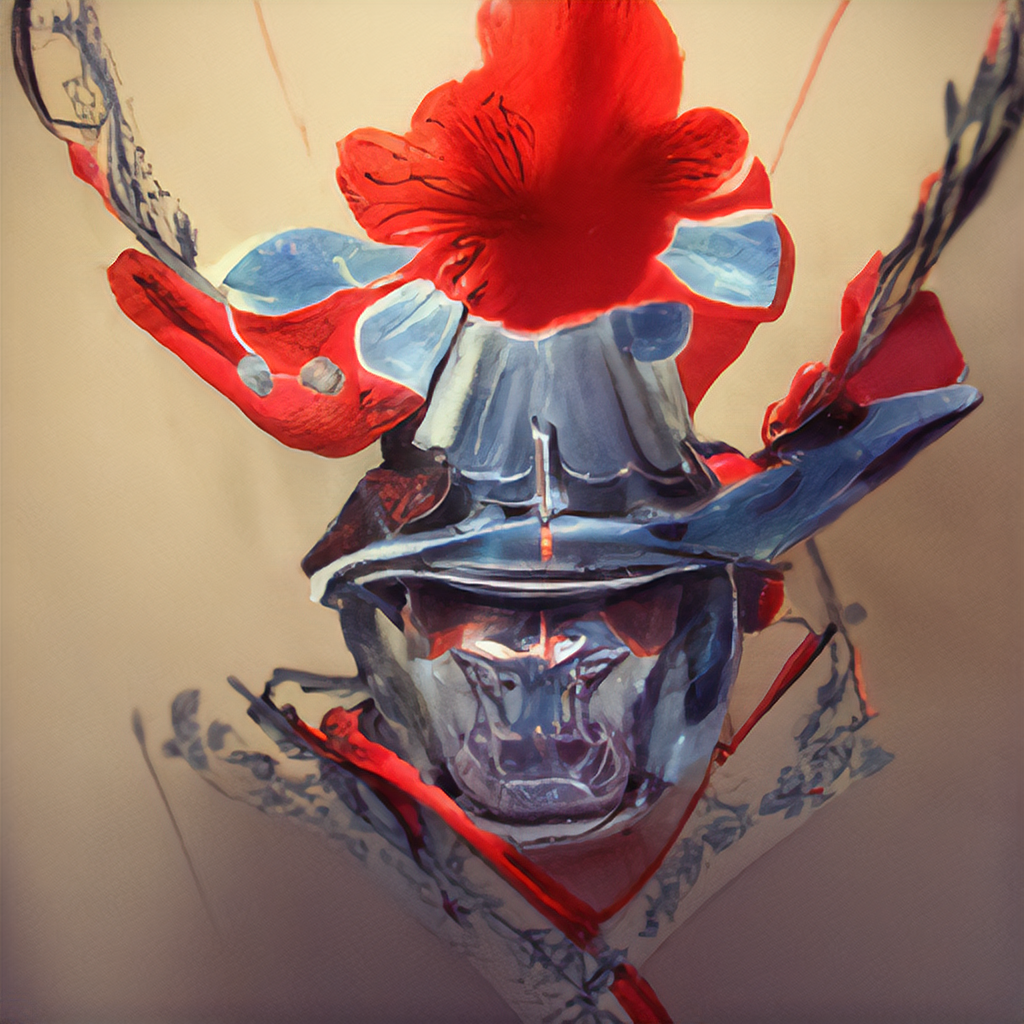
This yielded a pretty cool result. I ran this one at 912×512 resolution on the recommendation from twitter that 16:9 aspect ratio works better. You can see some japanese landscape as well as a sakura pink color. I liked this but wasn’t a fan of the 16:9 aspect ratio, so I flipped it to 9:16 (512×912).
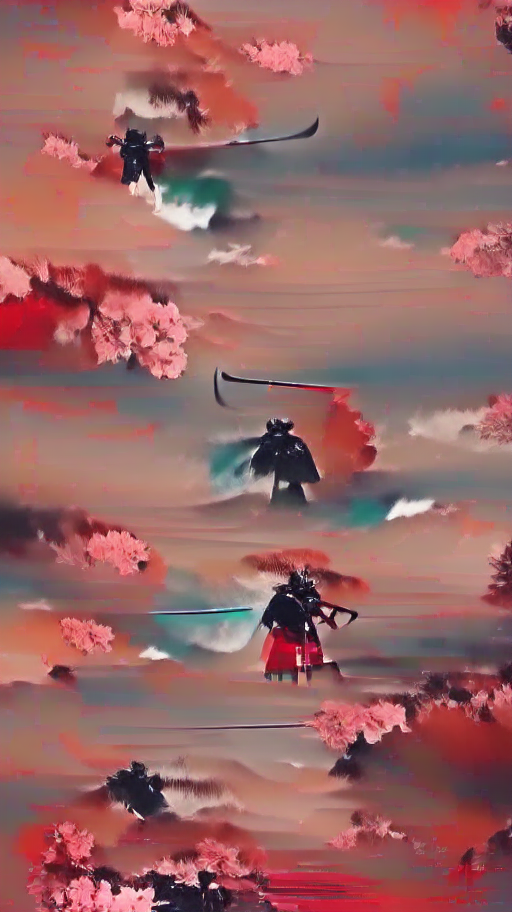
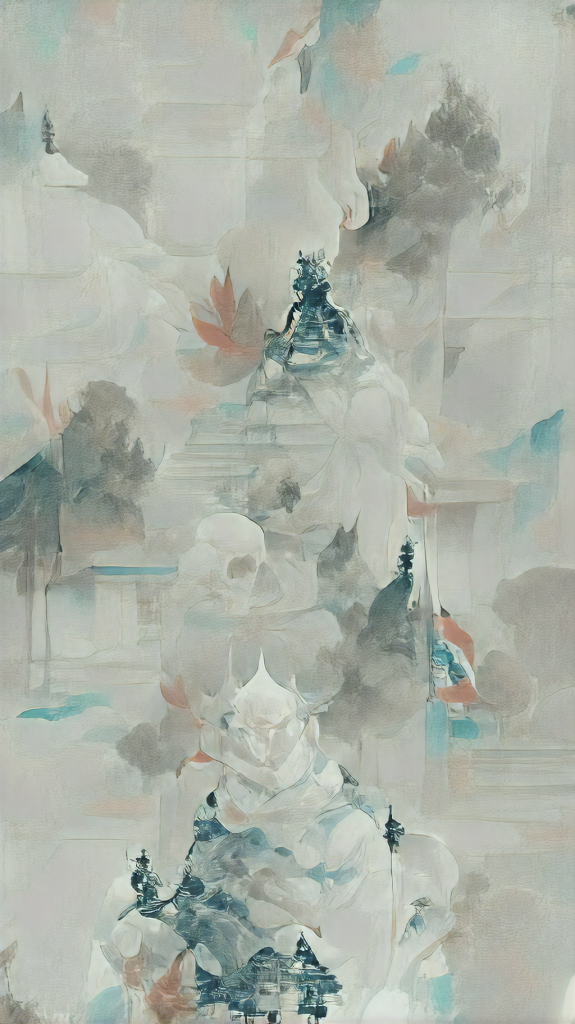
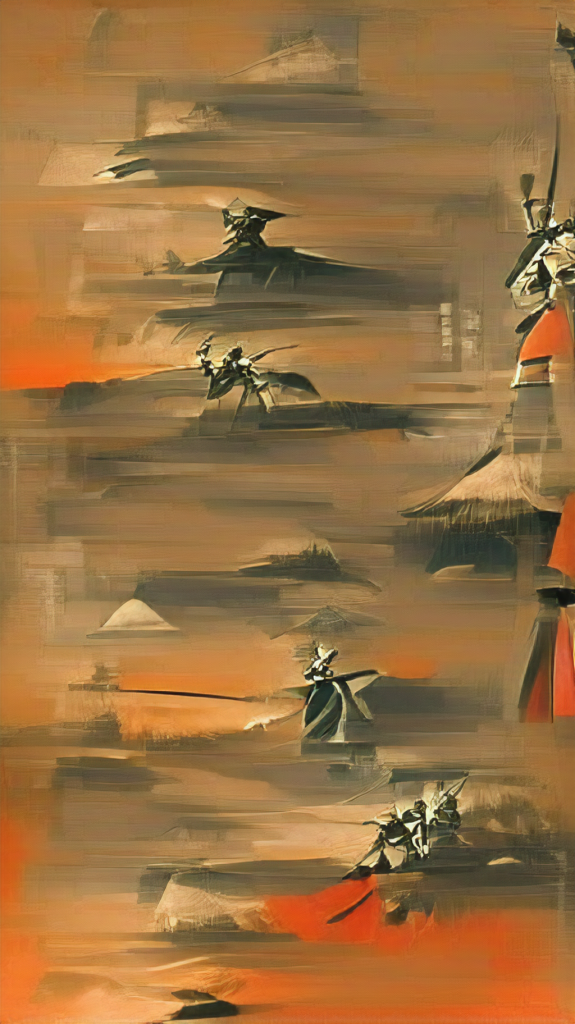
Seeing the first iteration appear from this next iteration my jaw dropped and I said actually said wow to myself out loud in an empty room. This was the moment that hooked me.
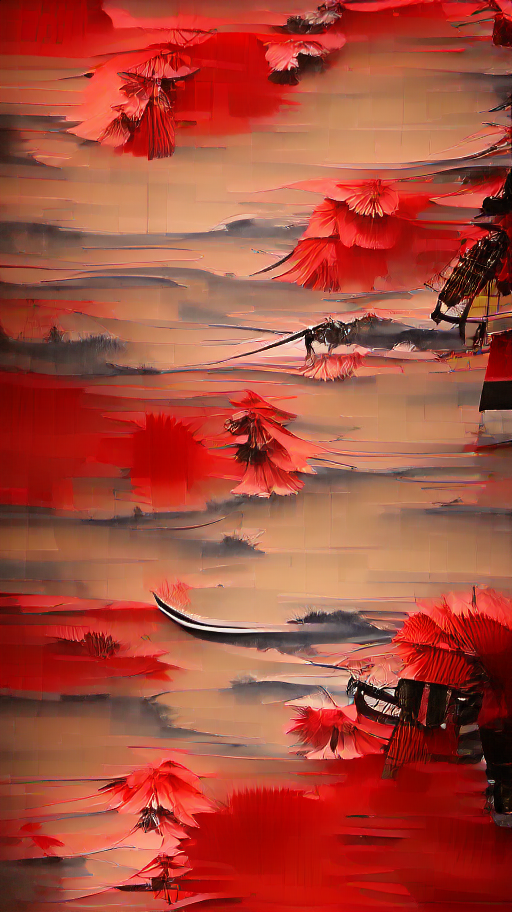
I quickly decided that I loved the composition, so I copied the seed from the output and pasted it in. -1 will tell the model that it should generate a random seed every time, but when you reuse a seed you can retain some major features from the image. It’s never exactly the same but I’ve found that reusing a seed will generally keep similar sorts of features in similar areas in the image. Landscapes will be entirely different looking but will follow the same path. Human-like features will all appear in similar spots and arrangements.
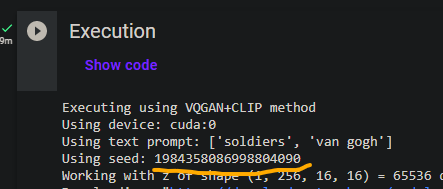
You can copy the seed used at the beginning of an execution.
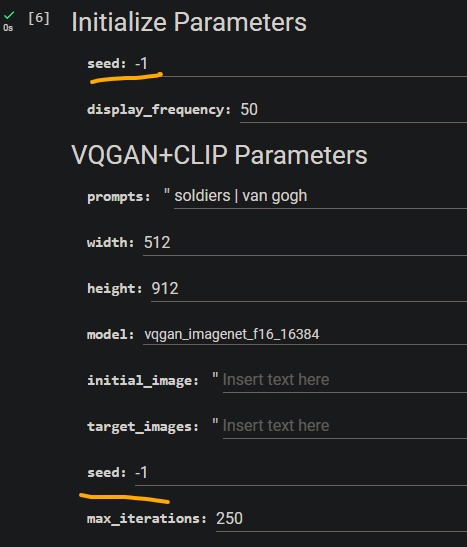
And paste it into your parameters to use again for your next execution.
Now that we have this same Evolve concept from NightCafe but without the credit limitation we can start cranking out artworks.
This is where the fun begins
Experiment. Try new art styles. Try new prompts. Try different sizes and resolutions. Try new models. Try new iteration counts. There is so much control over what you can do here.
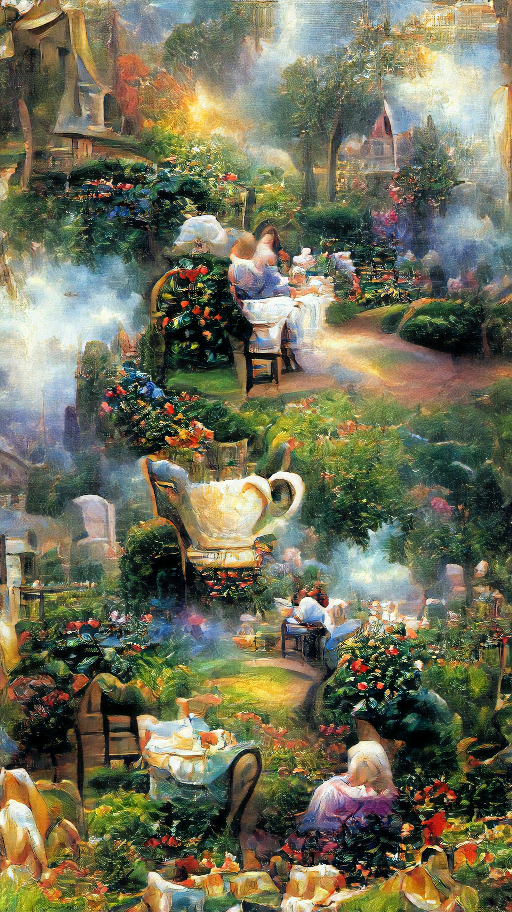
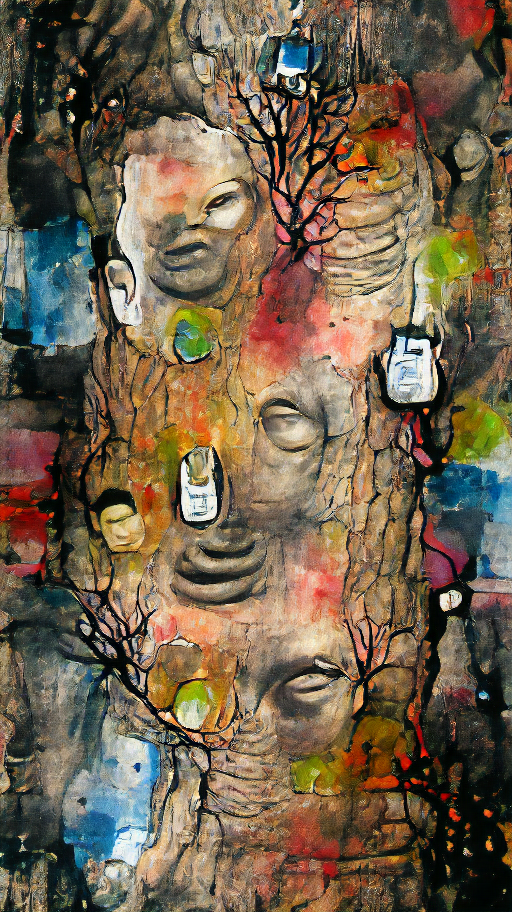
I’ll show you a few more awesome iterations that I’ve created using this iterative seed copy process.

I’ve made many more that I really like as well but for the sake of this article I’ll keep it going.
CLIP Guided Diffusion
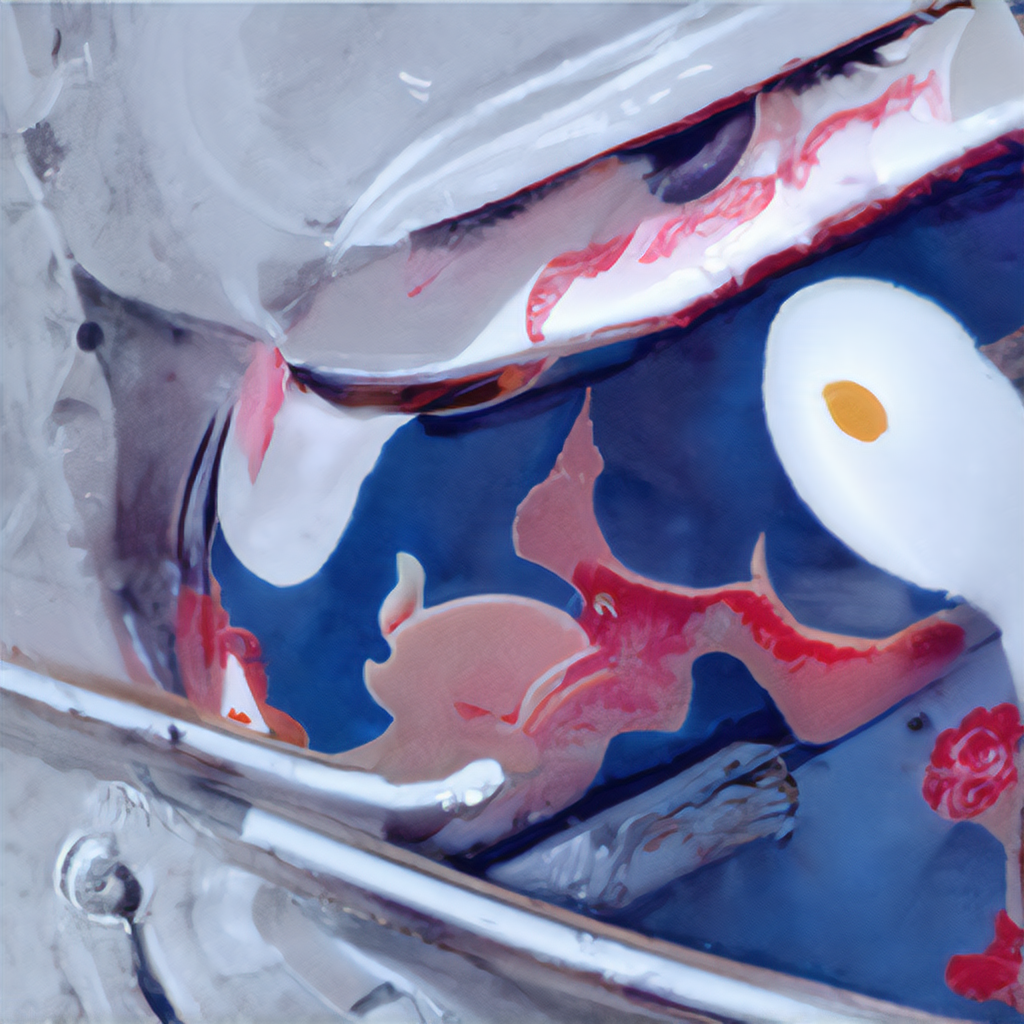
CLIP guided diffusion is similar to VQGAN+CLIP in the way that you use text to generate your artworks, however very different processes happen in the background. The important thing to know about CGD is that the output will be a lot better interpretation of your text prompt than VQGAN+CLIP.
These take a lot longer to run but can yield some very cool results.
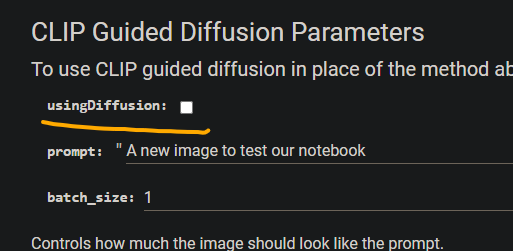
To run it in this notebook just check the usingDiffusion box. This is a bit of an unintuitive way that the notebook is laid out, but once you get comfortable with it you’ll know how to get what you want out of it.
ISR
PRO TIP
ISR = HIGHER RESOLUTION
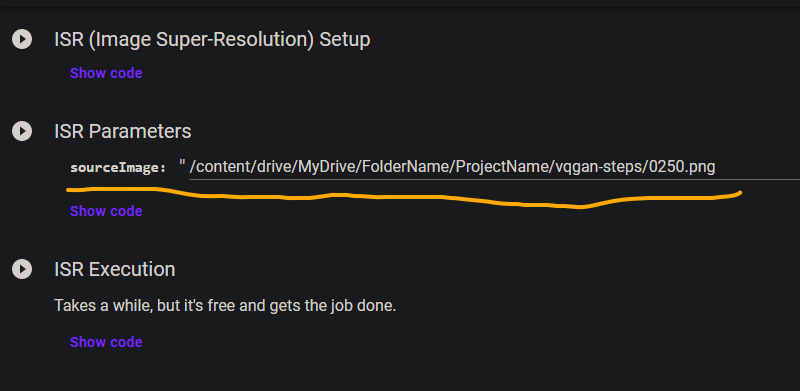
Not all VQGAN+CLIP notebooks out there have an ISR feature, but the one I linked does. This is useful for when you find artworks you really like as it lets you use ISR to Super Sample and scale up the resolution of the low image outputs from VQGAN. This execution takes a while but it will roughly double the resolution of a photo and remove some aliasing and is always worth it on outputs you like.
You set up the ISR once, and after that you just change the parameters to contain the path to the final output image you want to scale up.
Running on your own hardware
Running on your own hardware is very possible. I’ve tried running some things on my GTX 1060 6GB, but only having 6GB of VRAM is a limitation in terms of resolution so these run lower resolution than what I can get with a V100 in Colab.
The main benefit of running on your own hardware is the ease of scripting your own steps into it and making heavier modifications to the code. This can be very worth it, however note that you will be limited by your hardware.
You can get VQGAN+CLIP, ISR and CLIP GUIDED DIFFUSION
Whats Next?
There are a few more things I want to spend more time exploring now. Seeing as most of my time has been spent with VQGAN+CLIP I now want to experiment more with CLIP guided diffusion to try some more interesting prompts.
The other thing that I’m very interested in is a process called Transfer Learning. This allows you to take a pretrained model like imagenet or wikiart but add your own weights onto it to bias it in a certain way. This will allow me to choose artworks that I like more in style than others to create a more cohesive and unique style that I feel that I can call my own.
Thank you all for reading if you made it this far. I hope you find this journey as fun and exciting as I have.